Installation

Installation Instructions For Our Wallpaper
DIY Wallpaper
After unpacking the wallpaper, please check the measurements written on the head of the drops and compare them with the wall measurements. Lay out panels to check image match before installation. If you notice any inconsistencies within the print, please do not install. The panels are trimmed to size, ready to butt join.
You don't want to install it? Fair enough! Contact us for an installation and we send you a quote. Please include in your details your location, the size of the wall and the preferred date. At the moment we can only offer installation in the Sydney/Woolongong areas. Any questions? Still not sure? Check our FAQs or contact us.
Wall Preparation
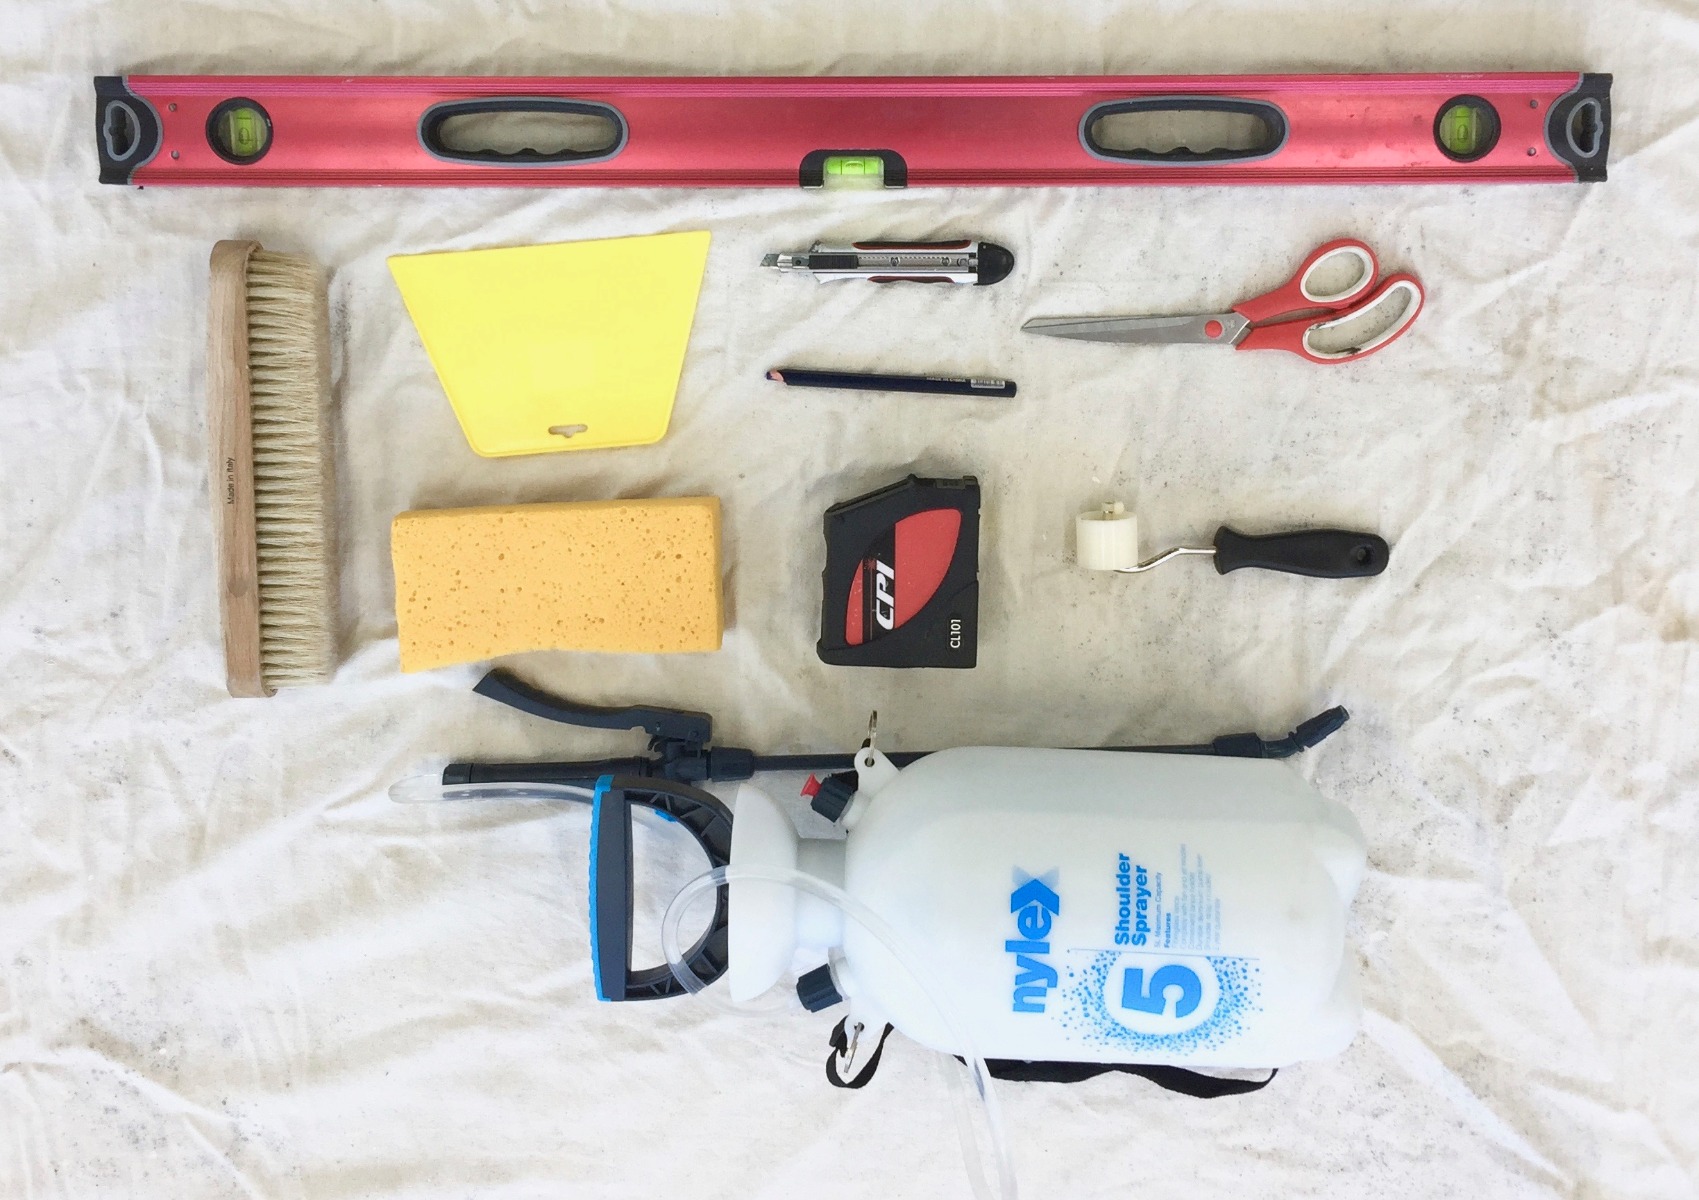
The wall must be clean, smooth and dry before applying the wallpaper. See image (A) for tools the might help you with the installation.
Application
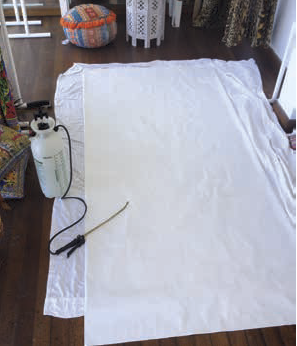
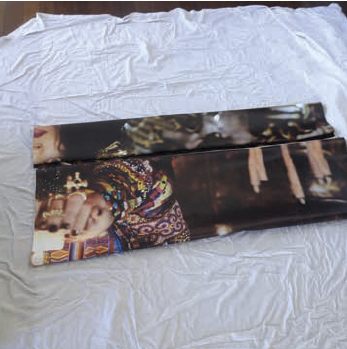
Lay the wallpaper face down and apply water liberally to adhesive side with a spray bottle (B). Allow to sit for 2 - 3 minutes before applying to the wall (C)
Apply the graphic to the wall by first aligning it to desired position. Smooth out the wallpaper using a wide squeegee or wallpaper smoother (available from most home décor and hardware stores). Avoid pressing your fingers into the surface or using excessive force with squeegee as this will make indentations or force the adhesive out the sides of the wallpaper.
It is important to smoothen out all air bubbles but do not overwork the application. Do not be alarmed if further little bubbles form shortly after application, or if there are ripples in the surface when the wallpaper is still wet. Smooth out severe bubbles and ripples with your squeegee, the rest will disappear when the wallpaper dries overnight.
Use only a new sharp blade to carefully trim top, bottom and the overlap. Trimming when wet may result in the graphic surface catching and tearing, even with the sharpest blade, so be careful.
Clean-up
It is normal for some adhesive to leak out the sides of the drops during application. These can be wiped away using a damp sponge or cloth.
Removal
Remove our pre-pasted PRO wallpaper by wetting it with either a damp sponge or spray bottle with water. Wallpaper removal scouring tools are not normally required. Allow approximately 5 minutes for water to soak through to the adhesive and then peel the wallpaper off the wall. Some traces of adhesive will be left on the wall which can be wiped away using a damp sponge.
Video of the installation of our pre-pasted PRO wallpaper

B) Pre-pasted PRO wallpaper - face down on the dropsheet:

C) Folding the wallpaper aka 'booking":
